
How to Use a Laminator
There are three types of laminator machines on the market: pouch laminators (heated roll laminators), cold roll laminators and cold roll laminators. Each type of laminator works in a different way and is best suited to different projects. To help you decide which model is best for you, here’s a brief description of each.
The most common type of laminator is the pouch laminator. It can be found in schools, offices, restaurants and homes as well as regular homes and offices. The pouch laminators are used to seal small, everyday projects like menus, business cards and photographs.
Heated roll laminators are larger than pouch laminators and can seal items between two rolls lamination film at temperatures between 110oc to 150oc. Heat activates the adhesive layer on the film. This gives it a strong hold and is extremely durable. Although it is more commonly used in larger projects in industrial settings it has one drawback: it cannot be used to laminate any items that could be damaged by high temperatures. This includes certain inks.
Cold roll laminators are similar to heat roll laminators but they use high pressure to bond the layers of film together instead of high temperatures. These laminators are ideal for large-scale projects dealing with delicate materials and can be found mostly in professional or industrial settings.
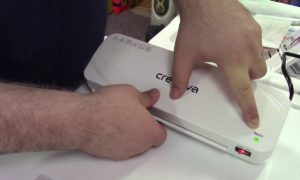
A standard pouch laminator machine for domestic use is the best option. These machines are small enough to be kept on your desk or in a drawer in some cases. They don’t require special supplies. All you need is the machine you choose, a stack pouches and the document or project you wish to laminate.
These are the steps to use a pouch laminator:
- First, make sure your machine is on a flat surface. It shouldn’t overheat! After the machine is in place, turn it on and plug it in. The average laminator takes between 1 and 5 minutes to heat up so allow yourself some time to prepare your project.
- While your machine heats up remove the pouch from its packaging. Open it up. You can place the item that you wish to laminate between the two layers of the pouch. Push it up against the seam, and make sure it is free from dust, dirt, and other particles. You should leave a border at the three other edges if you can. Do not trim the pouch if the item you are laminating is less than the pouch. This must be done at the final stage. Most machines will detect the thickness of your pouch, but you can manually enter the details to get an exact result.
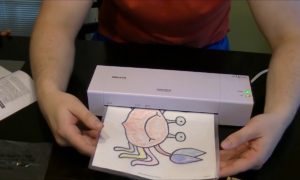
- It’s time for laminate once the machine has reached temperature. Place the sealed edge of the pouch in the machine following any placement guidelines. Now, the machine will gently pull your document through its feed. It will heat and/or seal it as it goes.
- After lamination is completed, you have the option to either take your project out of the machine and keep it as it is or cut it down to fit your needs.